Installing and Configuring NetWare AMP (NetWare 6, Apache, MySQL, and PHP/Perl)
Articles and Tips: article
Senior Engineer
Novell, Inc.
rlyon@novell.com
01 Dec 2002
When it comes to developing Web sites, MySQL is often used alongside other popular Web technologies such as Apache, PHP, and Perl. Combined with Novell's NetWare 6, this set of products-known as "NetWare AMP" (Apache, MySQL, PHP/Perl)-creates a powerful development environment on a NetWare server. This AppNote, the second in a series of articles exploring MySQL on NetWare, is a deployment guide for NetWare AMP on NetWare 6.
- Introduction
- Configuring Apache
- Installing PHP
- Installing Perl
- Installing MySQL
- A Sample Application
- Conclusion
|
Topics |
installation, configuration, NetWare AMP, NetWare 6 |
|
Products |
NetWare AMP (Apache, MySQL, PHP/Perl) |
|
Audience |
developers |
|
Level |
beginning |
|
Prerequisite Skills |
familiarity with NetWare AMP |
|
Operating System |
n/a |
|
Tools |
none |
|
Sample Code |
no |
Introduction
Apache is the most popular Web server on the Internet, and has been since 1996. It is a powerful, flexible, HTTP/1.1-compliant Web server that runs on NetWare 5.x and above, Windows NT/9x, and most versions of UNIX. It is highly configurable and extensible with third-party modules.
MySQL is a relational database management system (RDBMS) that touts itself as being "the world's most popular open source database." It is designed for speed, power and precision in mission-critical applications and under heavy load use. MySQL has recently been ported to the NetWare 6 operating system.
PHP (a recursive acronym for "PHP: Hypertext Preprocessor") is a popular general-purpose scripting language that is especially suited for Web development. It is similar to ASP because it allows embedding scripts into HTML and is also similar to Perl because it is open source. PHP comes with a wide range of extensions for XML, LDAP, and various databases and is typically used in combination with the Apache Web server.
Perl (Practical Extraction and Report Language) is a language optimized for scanning and extracting information from arbitrary text. It is especially useful for parsing files, generating reports and dynamic Web pages, and automating server tasks. Perl for NetWare provides system administration and CGI scripting, which allows your Web server to interact with users and increases the sophistication and functionality of your Web pages.
Note: The versions used in writing this AppNote are NetWare 6 SP2, Apache 1.3, MySQL 4.0.3, PHP 4.0.8, and Perl 5.8.
This AppNote is a deployment guide for installing and configuring NetWare AMP on a NetWare 6 server. It is the second in a series of MySQL articles that began with "An Introduction to MySQL for NetWare" in the October 2002 issue of Novell AppNotes (available online at http://support.novell.com/techcenter/articles/dnd20021005.html).
Prerequisites
The server must be running NetWare 6 with Support Pack 2 or greater. You can download SP2 at http://support.novell.com/servlet/tidfinder/2963227.
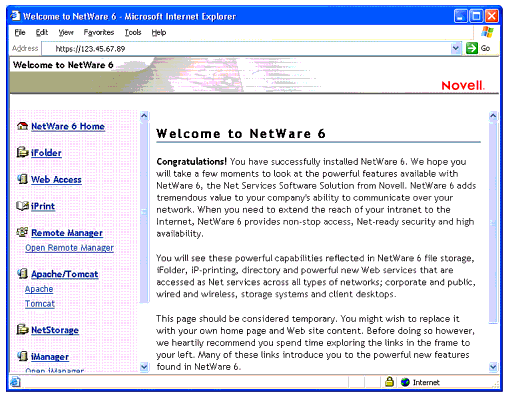
Ports 80 and 443 of your default IP address must be available on your server. If you installed products such as iFolder or iPrint, or if you have made custom changes, these ports may not be available.
To verify that these ports are available, browse to your server's IP address on port 80 (http) and 443 (https). For example, if your server's IP address is 123.45.67.89, you would set your browser to http://123.45.67.89/' and https://123.45.67.89:80/'. You should see the NetWare 6 welcome page shown in Figure 1.
Figure 1: NetWare 6 welcome page.
Configuring Apache
By default, NetWare 6 is installed with an instance of Apache running in kernel space and listening on ports 80, 443, and 2200. To create another instance of Apache running in protected space and listening on ports 80 and 443, complete the following steps:
-
Verify that only one instance of Apache is currently running by entering the following command at the NetWare server console:
M APACHE -
Create an NCF file to start Apache by creating a file named APACHESTART.NCF in the SYS:/APACHE directory with the following content:
LOAD ADDRESS SPACE = APACHE APACHE.NLM -
Create an NCF file to stop Apache by creating a file named APACHESTOP.NCF in the SYS:/APACHE directory with the following content:
UNLOAD ADDRESS SPACE = APACHE APACHE.NLMNote: As of the writing of this AppNote, the following additional lines positioned after the above line are required in APACHESTOP.NCF to ensure proper cleanup.
M APACHE
UNLOAD ADDRESS SPACE = APACHE
This issue should be cleared up with a future build of PHP for NetWare.
-
Enter the NVXADMDN command at the NetWare console to stop the Apache instance running in kernel space.
-
Comment out the following lines in the SYS:/APACHE/CONF/ADMINSERV.CONF file by adding a "#" symbol to beginning of each line:
# Start Apache Services Port Configuration
Port 80
Listen 123.45.67.89:80
<IfModule mod_tls.c>
 SecureListen 123.45.67.89:443 "SSL CertificateDNS"
</IfModule>
# End Apache Services Port Configuration
-
Enter the NVXADMUP command at the NetWare console to restart the Apache instance in kernel space.
-
Uncomment the following line in the SYS:/APACHE/CONF/HTTPD.CONF file by removing the "#" symbol:
# LoadModule tls_module modules/mod_tls.nlm -
At the end of your server's SYS:/SYSTEM/AUTOEXEC.NCF file, insert a new line to call the Apache startup NCF file you created:
APACHESTART -
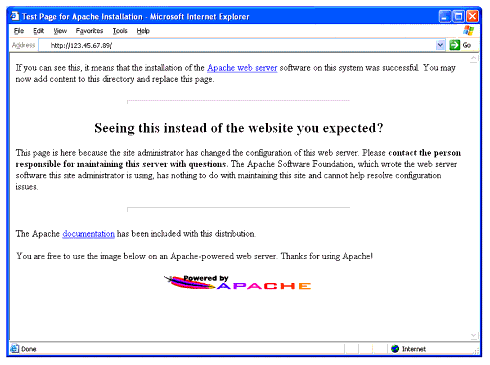
You can test your new configuration by typing APACHESTART at the NetWare console and browsing to your server's IP address from a browser (for example, "http://123.45.67.89/"). You should see the default Apache page shown in Figure 2.
Figure 2: Apache default page.
You can now enter APACHESTART and APACHESTOP at the NetWare console to start and stop your new instance of Apache. The previous instance of Apache running in kernel space is still listening on port 2200. Your new instance is listening on ports 80 and 443.
Installing PHP
To install PHP on to your NetWare 6 server, complete the following steps:
-
Enter APACHESTOP at the NetWare console to verify that your instance of Apache is not running.
-
From a client workstation, download and install the PHP software from http://developer.novell.com/ndk/php.htm to your NetWare 6 server.
-
Execute the following commands at the NetWare console and add them to your SYS:/SYSTEM/AUTOEXEC.NCF file before the APACHESTART line:
SEARCH ADD SYS:/PHP SEARCH ADD SYS:/PHP/EXT -
Insert the following lines at the end of the SYS:/APACHE/CONF/HTTPD.CONF file:
include sys:/apache/conf/mod_php.conf alias /php/ "sys:/php/webdemo/" -
Add "index.php" to the right of "index.html" in the list of directory indexes in the SYS:/APACHE/CONF/HTTPD.CONF file:
<IfModule mod_dir.c> DirectoryIndex index.html index.php </IfModule> -
Enter APACHESTART at the NetWare console to start your instance of Apache.
-
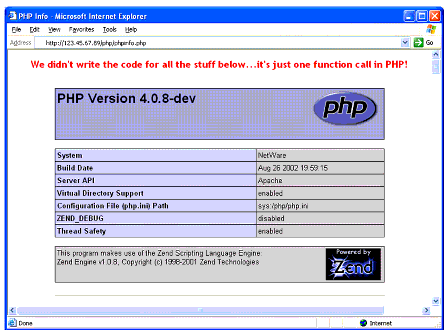
You can test your PHP installation by browsing to the URL "http://123.45.67.89/php/phpinfo.php", replacing the IP address with that of your server. You should see the PHP Info screen shownin Figure 3.
Figure 3: PHP Info screen.
You now have PHP running as an Apache module in your instance of Apache. The PHP module will respond to files with the .PHP extension.
Installing Perl
To install Perl on to your NetWare 6 server, complete the following steps:
-
Enter APACHESTOP at the NetWare console to verify that your instance of Apache is not running.
-
From a client workstation, download and install the Perl software from http://developer.novell.com/ndk/perl5.htm to your NetWare 6 server.
-
Insert the following lines at the end of the SYS:/APACHE/CONF/HTTPD.CONF file:
LoadModule lcgi_module modules/mod_lcgi.nlm <IfModule mod_lcgi.c> AddHandler lcgi-script .nlm .pl .nsn .bas LCGIModuleMap sys:\perl\lcgi\cgi2perl.nlm .pl /perl AddEnvVar PERL_ROOT sys:\perl\webdemo ScriptAlias /perl sys:/perl/webdemo </IfModule> -
Add "index.pl" to the right of "index.html" in the list of directory indexes in the SYS:/APACHE/CONF/HTTPD.CONF file:
<IfModule mod_dir.c>
 DirectoryIndex index.html index.php index.pl
</IfModule>
-
Enter APACHESTART at the NetWare console to start your instance of Apache.
-
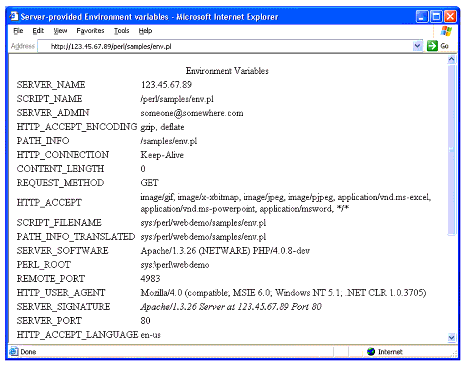
You can test your Perl installation by browsing to the URL "http://123.45.67.89/perl/samples/env.pl", replacing the IP address with that of your server. You should see the Perl "Environment Variables" screen shown in Figure 4.
Figure 4: Perl Environment Variables screen.
Installing MySQL
To install MySQL on your NetWare 6 server, complete the following steps:
-
Download the MySQL software zip file from http://developer.novell.com/ndk/leadedge.htm#le167.
Note: If the above URL is not available, download the zip file from http://developer.novell.com/ndk/leadedge.htm - Leading Edge 167.
-
Extract the zip file to the root of the server's SYS volume.
-
Execute the following command at the NetWare console and add it to your SYS:/SYSTEM/AUTOEXEC.NCF file:
SEARCH ADD SYS:/MYSQL/BIN -
Enter the "mysql_install_db" command at the NetWare console to create the initial database for MySQL.
Note: You may be asked to "press any key" after the process has finished.
-
Insert the following new line at the end of your SYS:/SYSTEM/AUTOEXEC.NCF file;
mysqld_safe -
Enter the "mysqld_safe" command at the NetWare console to start the MySQL database server. You should see a MySQL console screen similar to the one shown in Figure 5.
Figure 5: MySQL console screen.

MySQL is up and running on your server. You now have a complete NetWare AMP environment running on your server.
A Sample Application
The "phpMyAdmin" PHP application manages a MySQL database server, which makes it a perfect sample to run on your new NetWare AMP environment.
-
Download the "phpMyAdmin-x.x.x-php.zip" file from http://www.phpmyadmin.net.
-
Extract the contents of the zip file to the SYS:/APACHE/HTDOCS directory of your server.
-
Rename the directory 'YS:/APACHE/HTDOCS/phpMyAdmin-x.x.x to "SYS:/APACHE/HTDOCS/phpMyAdmin".
-
Browse to the URL "http://123.45.67.89/phpMyAdmin/index.php", replacing the IP address with that of your server. You should see the welcome screen shown in Figure 6.
Figure 6: phpMyAdmin welcome screen.
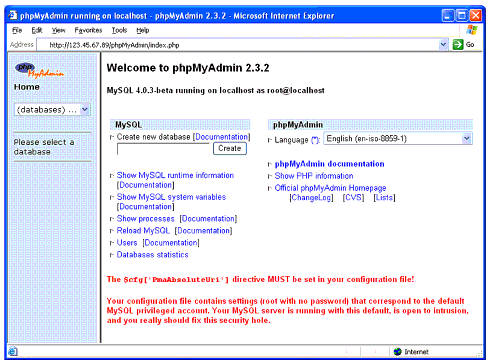
Congratulations! You now have a NetWare AMP application running on your NetWare 6 server! Note that you didn't have to modify the phpMyAdmin application to have it run on NetWare.
Conclusion
By following the steps in this AppNote, you have configured your NetWare 6 server to host the NetWare AMP environment. NetWare AMP is a new and powerful environment for developers on NetWare.
For Additional Information
For additional information about the technologies included in the NetWare AMP environment, refer to the following resources:
* Originally published in Novell AppNotes
Disclaimer
The origin of this information may be internal or external to Novell. While Novell makes all reasonable efforts to verify this information, Novell does not make explicit or implied claims to its validity.